Showing posts with label locomotive. Show all posts

Wednesday, June 17, 2020

AHM Krauss Maffei ML-4000 HO scale locomotive

AHM Krauss Maffei ML-4000 HO scale locomotive

Total Rebuild

After doing the Tenshodo SD24, I finally gained the skills necessary to revisit the AHM Krauss Maffei ML-4000 project that I started about 5 years ago.

When I started the project I found it simple to disassemble and strip all the paint.  The motor is a vertical shaft with a worm that goes down to a set of brass gears inside the rear truck.  Power is picked up from 2 axles on one side in the from, which is the right side and by a single axle on one side in the back.  The way this thing is able to work at all is because of the very heavy weight blocks.  It does run quite smooth in fact.  There are 2 traction tires in the rear.

The trucks are quite detailed with a single piece sideframe and screw on bottom cover.  This is the problem.  There is only 1 wire coming up from the center and to add power pickup was beyond my skill at that time.

Fast forward to the Tenshodo.  I had begun using the Tichy phosphor bronze wire to get more pickup out of the Bachmann and Life-Like trucks which lead to figuring out a way to do the same with the Tenshodo.  That's when I remembered the Krauss Maffei.  Could this method be adapted.  On the front truck, it was simple and a couple quarter inch holes in the frame floor gave plenty of clearance for turning.

Now for the rear truck.  There is a problem in that the motor just floats freely and is held in place with a spring clip.  The floor of the frame has a steel plate which is another obstacle.  Even if those two items are overcome,  2 wheels have traction tires and there is a serious clearance issue with the steel plate and motor in the way.  So let's see what we can do....

Saturday, May 23, 2020

Brass Tenshodo SD24 Total Rebuild

Rebuilding a brass Tenshodo SD24

Part 1

The HO scale SD24 brass diesel locomotive by Tenshodo is a difficult beast to tame.  The goal of this project is to rebuild it and keep as much of the original mechanism as possible - but not the motor.  This locomotive is going to be powered by a rare earth super strong magnet 24 volt motor.

There are 3 mechanical challenges to overcome.  First is the linkage from the motor to the gear tower.  The original design uses a rubber hose.  This is a totally sound concept and the original hose can be replaced by a slightly more flexible silicone hose.  The silicone hose is very cheap and a single roll will probably last a lifetime.  The shaft on the gear tower is one size bigger that the shaft on the motor, but the hose does not have a problem with that.  If you have a locomotive with a worn out hose, the size I used has an outside diameter of 4mm and inside of 1mm.  I also tried a hose with 3mm outside diameter and found it to be too flexible, but still usable.  There is another option and that is to use standard splines and couplings like those found in an Athearn blue box locomotive.  The motor has a much smaller shaft than the Athearn, but since I can 3D print these parts that shouldn't be a problem.  We'll see if it's necessary after everything else is mechanically sound.

The second challenge is the power pickup.  The trucks pickup power from one side only - and then only from 2 of the 3 axles.  The middle axle floats and doesn't contribute to the pickup all the time.  It's not a dead axle, but it's not normally load bearing in order to prevent skidding type derailments.  With little to no weight on it most of the time it shouldn't be considered a reliable source of power, but....  The first upgrade that I am trying is the phosphor bronze wire trick.  If I can use a piece of phosphor bronze wire that wipes the top of all 3 wheels and then use a wire to my power collection board the reliability will improve dramatically.  If that works, it may be possible do it to the insulated side wheels giving me power pickup from all wheels - that would be huge.

Challenge 3 is the drive shaft connecting the 2 trucks on the underside.  This shaft tends to disconnect frequently.  I have successfully test a small silicone hose sleeve on the end that gives the trouble.  This seems to work so far, but the locomotive has yet to complete the obstacle course of tight switches and curves that I setup.  The goal here is to negotiate 18" radius curves and #4 crossovers without derailing.

The first step in the whole procedure is to make sure the trucks have reliable movement.  Gear binding seems to be a serious problem.  One of the worm gears needed sharpening on the drive shaft on the front truck so far, but is still suspect.  One of the axle gears had broken loose.  A single drop of super glue fixed that gear in place very tight, but now we have to see if the tolerance between axle and worm will mesh....

Several hours later.... the binding gear problem was solved.  The gear in question was examined much more closelier, yes closelier.  The gear was split.  To remove it the axle was heated with the big soldering gun and the insulated wheel comes right off.  My first thought was to replace it.  I found a plastic replacement that I could have used if I put one on each geared axle in both trucks.  Like I've said many times, shaft sizes and gears are not special.  When a gear is cut, it's cut using a tool that is a standard size.  The gear cutting set is like a machinist drill bit set in that the sizes are all indexed.  This is why you can almost always find a matching gear to anything that needs it, as long as you know where to look.  For now, I've just removed the old gear and someday I'll run across another wheelset that I can replace that axle.  Unless this project turns out to be much better than expected - then I'll replace all 4 gears from my plastic replacements.

Tomorrow's job will be seeing how smooth I can get it to run before I add the extra power pickup.

The phosphor bronze wire totally did the job.  The multimeter shows full voltage through the wires.  Now that power available, we can test it.  On the road test first we checked to see if the hoses used on the drive shafts both topside and underneath would hold.  The good news is that they work so well that they will be retained.  The hoses have done an excellent job.  The crossover test was successful and without difficulty we went over a large crossover that has long unpowered frogs.  We were able to make several times without derailing or stalling.  Next we tried a string of #4 switches that are from a mix of manufacturers.  Rail is brass, yellow brass, steel, nickel silver and we made it through without stalls or derailments.  Then we moved on to the 18" radius test and that was no problem.  Feeling extra brave, we went through a spaghetti bowl of very sharp turnouts and then down to the 15" radius that crosses open space over a concrete floor.  We went through the 15" with some grinding sounds, but stayed on the track both fast and slow.  I'm calling this rebuild a success so far.

Really digging into the locomotive and its inner workings has helped me step up my game to a new level.  For a couple of years I've considered this SD24 a piece of junk - and for good reason.  I haven't been able to find any good comments from people who have them or any stories of rebuilding them.  I know they are out there and hope this story will bring out other information.  Now that the locomotive is in very good working condition I can move into paint and decals.  I have something exciting in mind....

Now time for some pictures....


And that's a wrap.


Friday, November 1, 2019

A.C. Gilbert HO scale Alco Diesel DL-600

On the workbench we have a 1957 A.C. Gilbert Alco Diesel in HO scale.

These are the before pictures for this rebuild.  I don't collect them, I find them, fix them and run them.  This locomotive has excellent potential and for being 62 years old it was in very good shape.  It was missing a drive shaft, which was easy to fabricate.  The mechanism is similar to Tenshodo brass.  The plan is to replace the fully functional open frame Pittman motor with a new 24 volt rare earth magnet motor.  The wires will be replaced with silicone wiring.  Since the motor will be isolated, there is no reason this can't be an excellent DCC locomotive.  There is also plenty of space to add big sound to this build.

We'll see what happens... I have yet to see where anyone has rebuilt one of these, though I'm sure they're out there somewhere....


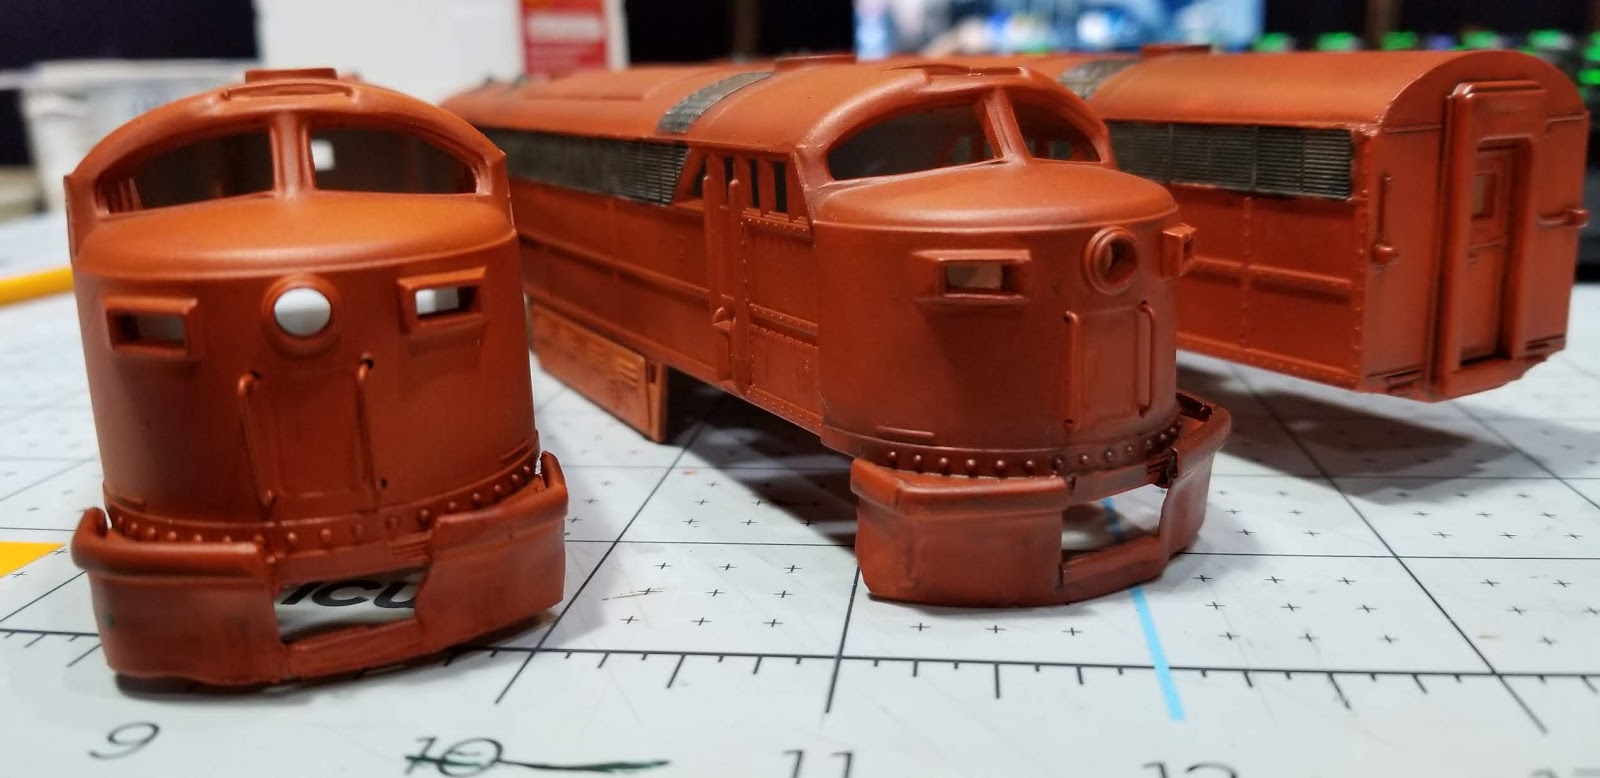
AHM FM C-Liner Rebuild

The AHM FM C-Liner Rebuild Project

The C-Liner project is coming along nicely.  The much maligned from pilot was cut off and replaced with some tin I bent from an oyster tin.

The B unit is a dummy, but I've made it to pickup power which I plan to distribute through tiny 2 pin connectors to the 2 A units making a lash up that gets power from all 3 units together making for a super reliable set up.  Picking up power from many wheels over a long distance should insure that it never stalls from lack of power.


1976 TYCO Midnight Special

1976 TYCO Midnight Special 50th Anniversary Shark Nose Locomotive

The Alco RF-16 Shark Nose Diesel Locomotive built from 1950-1953 was a 1600 horsepower engine.

TYCO came out with a Shark Nose called the Midnight Special for the 50th Anniversary in 1976.

I rebuilt this model and dressed it up a bit to see how it might look.  Turned out pretty good, runs decent and is equipped with LED lighting.


Thursday, September 19, 2019

Athearn Blue Box DD40 rebuild

Working on the old MP40
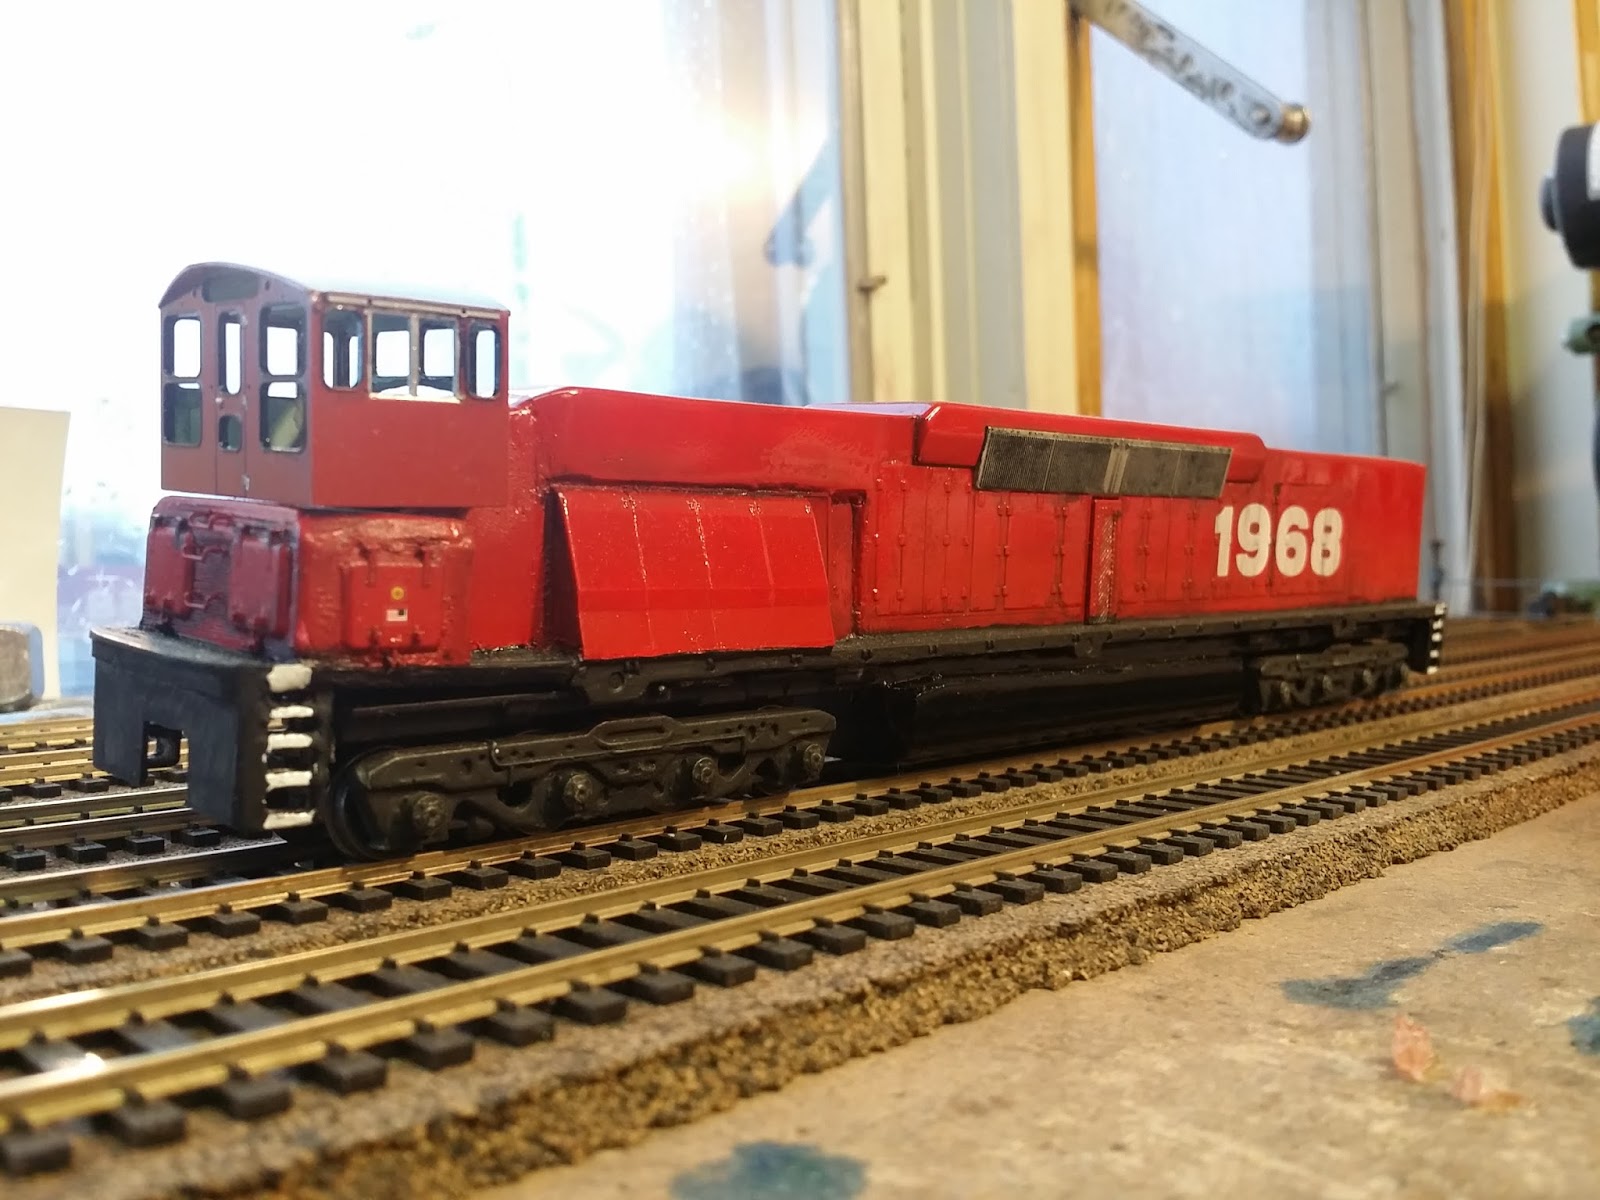
The right combination of parts was found with the MP15 cab and base plus an Atlas Trainmaster H24-66 frame and finally the correct height to get the cab to see over the body was achieved.

The dual motors will be upgraded to 2 24 volt rare earth magnet motors which should give a super smooth movement like the high torque 24 volt rare earth magnet motor used in the single motor Athearn Blue Box DD40 that we did on YouTube. 


Friday, July 20, 2018

Tenshodo Brass SD24 rebuild

Tenshodo SD24 Total Rebuild and Repower


I've been working on this old brass Tenshodo SD24 for a couple of years on and off.  My goal is to make it a decent running locomotive.

**UPDATE JUNE 2020**  This project is complete and turned out awesome check my blog entry from May and June 2020

I selected a high torque rare earth magnet motor with a 2mm shaft.  This motor runs around $6 each.  These types of motors are far superior to anything else out there.  They are very good on the low end, but at 24v, you never reach the top end so the locomotive may seem a bit slow.  If you run trains at low speeds, this is the type of motor you want.  The torque is very high, much more than you are probably used to.

I made the motor mount on the 3D printer just the right height so the motor shaft is aligned with the drive shaft on the gear tower.

Here's where the problem is located:  these locomotives used a 2mm rubber hose to connect their 2.3mm shafts to the old open frame motor.  I could save this hose and with a drop of glue make it work probably ok.  The hose takes away just a bit of freedom of sideways movement, and that little bit almost certainly adds up to frequent derailments on most track, unless you have huge radius and large turnouts.

Let's table the hose for now and move to more serious problems.

The motor shaft connects to a hose that connects to a drive shaft that connects to a bakelite gear on a gear tower that connects to another bakelite gear that connects to another bakelite gear that connects to a worm gear on a shaft connected to another worm gear connected to another drive shaft that connects to 2 more worms.  Each worm connects to an axle.  That's 3 bakelites, 4 worms, 5 total shafts.

The trouble starts with mating a bakelite gear to a metal worm.  Once worn a little, lots of binding will happen.

No I'm going to replace anything with another drive system.  In this shop, things get fixed, so let's figure out how to solve the problem.

Getting new hose is easy, but perhaps we can make couplings.  Gears are riveted on, but not impossible to replace and we have plenty of those around.

Fabricating a new gear tower is totally possible using aluminum and may be the way to go, plus I really want to make something like that anyways.....

This project has been given new life - I'm going to paint it by hand with a paint brush and it will be incredible.  Check May 2020 for a new entry.

Sunday, October 1, 2017

Athearn Blue Box DD40 Rebuild

Athearn Blue Box DD40 Rebuild


Making my MP40


I've been working on this MP40 for a couple years now.  Lately, I made some 3D printed parts to help me out.

I need better pilots and a better cab stand, so I used a Mecreator 2 to make these basic parts and they turned out pretty decent.

I used PLA to make the parts and found out that PLA is hard to sand.  In the pictures below, you'll find that the surfaces are a bit rough and the accuracy is not that great.

This project is mostly a learning project and not meant to win any contests.  I do have several more DD40's that will build on this concept and their accuracy should be much higher.

The next step from here is to use wood filament rather than PLA.  Parts printed with wood should be much better for finishing.

First up we have an orange box Athearn DD40 dual motor that needs quite a bit of restoration:

A top view of the MP40 Hercules:


 The rear, you can see how the 3D printed parts are very rough and will require quite a bit more work to get right.  Also the air enclosure.  It's big, but rough around the edges:

MP40 Hercules

 The xy milling table, a very handy tool.