Friday, February 24, 2017

Rebuilding old Bachmann U36B Part 1 Pancake Motor

Rebuilding old Bachmann U36B Part 1 Pancake Motor

A heavy rebuild project of an old Bachmann Locomotive in HO Scale


I'm going to go over some old topics and some new in this series.  First off I want to answer the common objection of "why rebuild this - it's just junk."

Many of you started out with a Bachmann, Tyco or Life-Like trainset and still have one of these pancake motor locomotives.  For a lot of you they hold a great deal of sentimental value.  I started with an AHM GP18 and I still have it and it still runs.  I'll always hold my first locomotive in the highest place among my trains.

Are these 40 year locomotives junk?  The short answer is absolutely not.  They were built for kids who beat the crap out their trains and ran them at full power all the time.  Too many modelers get this high-brow attitude and just say you should junk them or toss them.

The reality is that if they were junk then there wouldn't be hundreds of them for sale on ebay on any given day that still run.  They can be caked with hairballs and dirt, but still have signs of life in them.  And they are CHEAP to get.  Ask yourself how comfortable you would be taking the hacksaw to your $300 locomotive?

I'm starting this series with Bachmann, which means it will also apply to old Life-Like.  The mechanism in these trains is technology that is accessible to everyone.  They're the simplest trains to really practice on.  A testament to the reliability of the pancake motor is the fact that it's the same motor slot car racers use today.

If you ever have a failure so catastrophic that you just don't know what to do, find you friends who are into slot car racing and ask them to check it out for you.  The whole idea here is that any problem or damage you find can be fixed.  We're going to fix everything and not junk anything.

This includes cracked gears.  If we find broken or cracked gears, we're going to replace them with easily found miniature robot gears.

We're going to strip the old paint and fabricate new handrails.  We're going to make just a few modifications to the body, but we ARE NOT going to go real heavy in super detailing.  Just a few details here and there to make a decent looking fully operational locomotive that could appear in photos looking good from several feet away.

The plan is to do this U36B first, then we'll move up to an AHM GP18, then we'll probably create a dual motor TYCO Super 630.  Eventually we'll get to blue box Athearn and Proto 2000 Life-Like.

This is all practice so that someday you'll feel comfortable taking on more complex and expensive project.

We're going to do a 1 color simple weathering with a paint brush that I think you'll really like.  Here is what we're starting with....


So, right now I've been soaking the shell in 8% pine oil for a couple weeks to remove the tough paint job. The pine oil has done a decent job and you'll see some pix of that shortly.

Step 1 then is disassembly.  Carefully start taking everything apart with care not to lose any parts.  My U36B was one of the dirtiest locomotives I've ever found.


As you can see, the wiring is nice and heavy and in decent shape.  We're going to keep the circuit board.  Next I hooked up some alligator clips to check if there was life in the motor....


The motor did turn a bit and after a short time was spinning.  Even if there is no life at all, we can still fix it.


The slippery plastic can often crumble.  If that happens, usually super glue can be used to make some decent welds, but other glues can really wreck things, so SUPER GLUE ONLY for now.  So far everything seems ok.... lets remove the motor from the frame....sideframes come off first, and be careful not to break them.


OK, looks dirty, grimy, full of hariballs and the traction tires are shot...carefully start removing the gears and wheelsets...


Needs cleaning bad....  rear truck is for power pickup, looks like it's just dirty and nothing is really broken...


Motor Disassembly

Yes you can totally take the motor apart and it will not ruin the magnets.  Ask any slot car racer.  Replacement magnets that are much stronger are actually out there if you must, but I'm pretty sure we'll be just fine.  No need here to take out the magnets, but we can if we need to....


With a soft toothbrush and a small pan of Dawn dish soap we can clean everything.  Don't lose any parts down the sink.  Don't wash the motor, but do carefully clean it just a bit, then you can polish it with a soft metal wire wheel on your dremel.  Also, those little springs and the tiny motor brushes are things you don't want to lose or you'll be searching ebay to buy some new ones.  On the motor housing side with the magnets are 2 metal collars, leave them where they are.  You will need to clean the grease and hair out the posts that hold the gears in place.

TAKE PICTURES OF EVERYTHING BEFORE YOU TAKE IT APART.  That's how you'll be able to put it back together.  After a while it becomes second nature and you'll know this motor inside and out.

Don't break any tiny wires on the motor core, but do polish it with the soft wire wheel.  Remember that the wire wheel with the copper colored shaft is the stiff wheel and will shred this motor core in 2 seconds, so only use the soft wire....


Next we're going to take a look at the wheelsets... they need new traction tires, which I got on ebay, a bag full for around $2. The wheels need polishing, but again, the copper colored shaft wheel will actually take the plating off the wheels, so soft wire only.

If the gears are cracked, which these aren't, you can REPLACE them with gears easily found on ebay, just search for "58 kinds of small gears" - that bag has pretty much any gear you need.  They are little wider, which makes them stronger.

All the gears are washed with a toothbrush and dish soap.  Anything on this locomotive can be washed with dish soap if you are careful.


OK the wheels need work.... in the next part we'll fix them up...


Tuesday, February 7, 2017

Bachmann Life Like replacement gears

Bachmann Life Like replacement gears

Mystery Solved!!


This isn't new news, and the link is going to expire, but I will post another because these guys never run out of gears and they aren't the only sellers.

Here is a link from Feb 17:

http://www.ebay.com/itm/58-kinds-Plastic-gear-Motor-Gear-Technology-Small-Production-DIY-Accessories-Hot-/261832973793?hash=item3cf6761de1:g:k1QAAOSwm8VUwhC5

58-kinds-Plastic-gear-Motor-Gear-Technology-Small-Production-DIY-Accessories-Hot

Here's the news you guys really want:

Bachmann and Life Like old gears that are broken or cracked are NOT unique or special in any way.  The sizes are standard and the holes are also standard.  The photo about shows a selection of replacement gears that can be used to repair those 1970's and 1980's locomotives.

I've found that using the thickest gear possible provides the best results.  Sometimes you need to use 2 gears together to get the right combination.

Thursday, February 2, 2017

ALPS MD 1000 Printer

The ALPS MD-1000 Printer

White Decals Printed Successfully


I finally got my ALPS MD 1000 Printer to do exactly what I wanted... print tiny white decals.  Yes, it worked.  I'd almost given up hope, but on January 31st, 2017 I successfully printed half a sheet of tiny 4 pt. lettering on clear decal paper.

I tested the decals on a couple locomotives that needed some lettering.  If done quickly, the decals can be applied WITHOUT using a decal sealer on the paper.  They will work.  But, then I tried doing about 20 of them at one time.  The decals that stayed in the water and ammonia mix that I use did have some breakage and some of the letters actually separated from the paper.

The simple fix is to use decal sealer on the sheet like I do for all the other decals I use.

Here's is what you need to know if you want to get an ALPS MD 1000 working.

1.  You will need an old computer running Windows XP.  There is no exception to that rule at all and I tried everything.  Also, it's best if you use SP2 or lower.  I had trouble with SP3, but did manage.

2.  The cartridge you will need is the SCWH which means special color white.  It's usually used for making other colors opaque when set down first and printed over with another color.

3.  The mode used is SPOT COLOR SINGLE COLOR WHITE ONLY.

4.  THE PRINTER IS INSTALLED WITH 2 DRIVERS, MAKE SURE TO USE THE REGULAR PRINTER, AND NOT THE MS VERSION.  YOU HAVE TO SELECT IT EACH TIME YOU PRINT!!

5.  There is a mode that I experimented with where you hit the feed button, print one color and then the paper backs up to the beginning again and allows you to print again, might be useful for making yellow decals printed over the white.

I use an old program I got 17 years ago called Freehand.  It was made for Windows XP and is perfect for lettering.

Thursday, December 22, 2016

Scale Test Car

Scale Test Car


I've got a model of a scale test car that I haven't got around to building yet.  They are kind of interesting, but since there aren't as many good pictures of one as you might think, I'll post some of mine here.

I got these at the Minnesota State Scale in St. Paul in November of 2016.


Note that the build date is 1936.  Also note the round sockets on the ends.  You know what those are for? They're for moving the car using a pole held by a brakeman between the car and a locomotive or truck from another track.  How'd you like that job?

Tuesday, October 25, 2016

Matchbox No. 29 Fire Pumper Restoration

Matchbox No. 29 Fire Pumper Restoration


Restoring and Rebuilding Matchbox Die Cast Cars


I've got a tub full of Matchbox, Hot Wheels and other die cast cars that I've always thought I'd like to rebuild and do some detailing and use them with my trains.  Generally, most of them aren't quite the right scale and lack details that you would find in any modern scale vehicles.

The one advantage they have is that they are really cheap.  I also have a personal affinity for the regular wheel Lesney cars of the late 1960's.  These were the toys that I first played with when I was a kid.  I always felt that the older Matchbox cars were better.  There was a point when Matchbox started making too many fantasy cars which was mainly the domain of Hot Wheels.

I still have all my originals safely in their cases, but I've accumulated a lot of the old 1-75 series that are in pretty poor shape.

Contrary to popular belief, they aren't valuable.  In general, the cost of these cars is between $1-$5.  Every year I seem to pick up about 10 or so more that are wired to various flat cars I buy at train shows.

First I need to plug an awesome video that got me excited about doing a much better job at these restorations:

YouTube Channel:
Angelo Bonsignore

Specifically this video:  

How to restore Diecast Cars from Nov 24, 2012


Here's the link:


This guy is really good at this and I hope he does some videos on this subject.  This video convinced me to get the Vibratory Tumbler from Harbor Freight.  Here's the link to that tool:


I plan to do this on my YouTube channel later, but I wanted to give you a taste of what can be done:

I had 3 each Matchbox No. 29 Fire Pumper Truck and this is how they looked when I decided they were going to be the models selected for this rebuild:


Pretty rough shape.  Notice they all have the Denver decal and 2 of them are missing the beacon.  None of them had the ladder.  Once I opened them up I was surprised to find the beacon was broken, but it was still on the inside.

I washed, stripped and polished them by hand.  In Angelo's video he uses the tumbler to get a much nicer finish than I got.  Then I used Rustoleum Sunburst Red, which I tend to use a lot to paint them.  I don't care for the 2x paints because they're a bit thick.  I also use a lot of the Rustoleum black, gray and white primers. For rust or brown primer I prefer Krylon.

This red is one of the few colors that can be baked or heated with the heat gun.  Here's an intermediate shot:


You can see that my metal wasn't as polished as it would have been if I used the tumbler, but that will happen on the next set of rebuilds.

The plastic hoses and the windshields were washed with dish soap and then I polished the windshields with a head light restoration kit.

I used 3M blue tape to hold the beacons and windows in place and I didn't use rivets to replace the bases.  I'll probably just do a drop of white glue there.  The nice thing about die cast vehicles is that you can do them over if you suddenly get much better at it like I did.

I wanted to have unique engine number instead of making a new Denver decal, so I went ahead and gave them some yellow numbers.  And here they are:


They turned out pretty nice and will look great at a fire station that I'll make some day.

Tuesday, October 11, 2016

The Ghosts of Oelwein Part 5

The Ghosts of Oelwein Part 5

Remnants


So what's left....in April 2016 here are some of the sad sights...


That's what's left of the main shop, paint shop, and everything between the freight shop and the museum.  In 2005 some developers along with the usual government employees claimed there was the perception of contamination and that's why this place is the way it is now.

The bridges leading into the shops a few years ago....


And now.....


that's what remains.

The Ghosts of Oelwein Part 4

The Ghosts of Oelwein Part 4

Evidence of the Existence of a Railroad


Gone now and very sad it is to see the site of the once mighty shops.  It feels like all the work that was ever done at this one place has been erased.  What remains will not mean anything to the future.  This is a last testament to what went before...  should power go off, then this too will disappear.

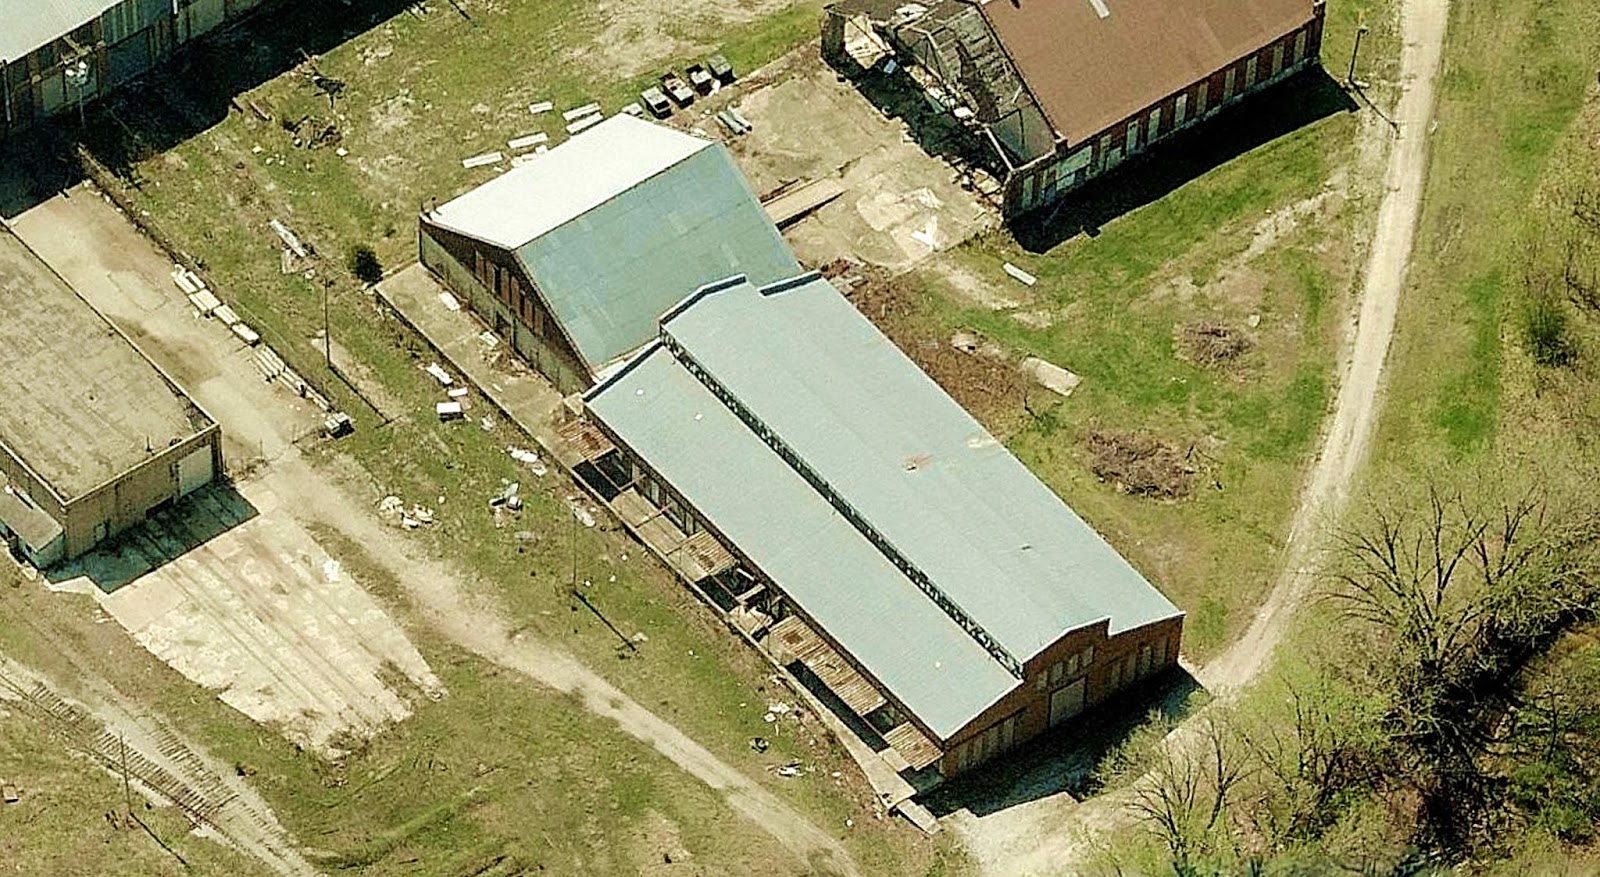
In the original plans, this was the freight car shop...


The above section is part of the old coach shop, which is had a second floor where they did upholstery and had 5 tracks coming in from the transfer table.

The unloading platform of the freight shop is a worn out place....

from the other end...


from above, a few years before...